When should a bimetal thermometer be calibrated?
Bimetal thermometers are by far the most common thermometers around. Their simple design makes them easy to mass produce, and even though they have a low price point, they are still fairly accurate. But how do you know when you should calibrate it? Or is there simply no need to? In this blog, we check out why and when you should calibrate your bimetal thermometer.
How does a bimetal thermometer work?
Bimetal thermometers work by converting the temperature increase or decrease into mechanical displacement through a bimetallic strip inside of the thermometer stem. The bimetallic strip is made up of two metals attached to each other. The metals used can include copper. brass or steel. Because the two metals expand or contract differently when the temperature increases or decreases, the difference causes the indicator to move. The difference in expansion is also explained as a difference in coefficients of thermal expansion. The indicator is attached to a dial at the front of the thermometer, with temperature indications alongside the dial. When the indicator is moved by a temperature increase, we can see that visually by inspecting the dial.
Why is calibration important?
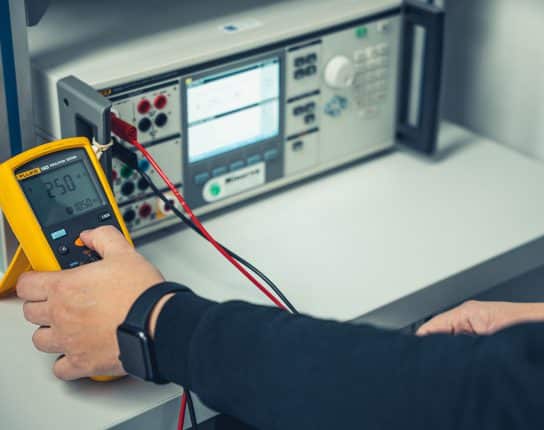
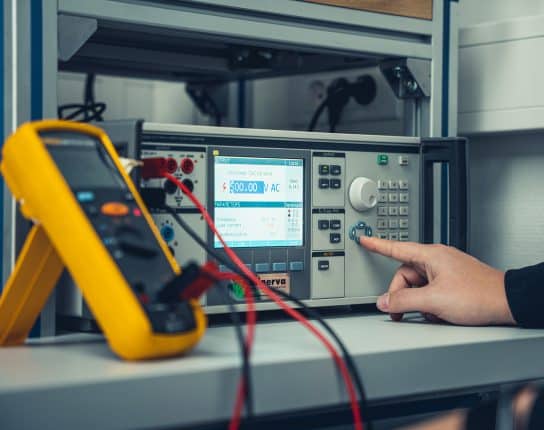
Calibration is most easily explained as making sure a thermometer is accurate. This is done by testing whether the bimetal thermometer indicates what it should indicate by comparing it to something you know the temperature of. In the case of bimetal thermometers, you can adjust the thermometers with the nut located below the dial. Calibration should be important when you need to be sure of your thermometer’s measurement. For more common questions, read our recent blog on 4 common questions about temperature calibration.
So when should you calibrate your bimetal thermometer?
Bimetal thermometers can suffer a loss in accuracy from various sources. When you suspect that one of the following is the case, you should probably perform a simple calibration to see what is up:
- The thermometer is new out of the box. Especially when you do not know the supplier or manufacturer all that well, it would probably be a good idea to at least check whether the thermometer is close to being accurate. If the thermometer is supplied with a valid calibration report, you do not need to test it. This means that either the supplier or the manufacturer of the product has tested it’s accuracy and possibly also calibrated the thermometer. A valid calibration report will show when it was done, by whom and also how accurate the thermometer was found to be.
- You or someone else dropped the thermometer on the floor. Although this seems insignificant, the fall may have shifted the nut behind the dial a little bit. Because a little bit can already be too much in terms of accuracy loss, you should probably check if the accuracy is still up to par.
- You switch the thermometer to a different temperature range. This is especially the case if the thermometer has been used in a certain temperature range for a long time. If the difference between the new and old range is large (let’s say twice or half as big) then it is a good idea to check accuracy. Longer exposure to a specific temperature range may make the thermometer less sensitive or even less accurate in other temperature ranges.
- The thermometer has been stored for a long time. Similar to the previous reason, but probably more intuitive. The thermometer has spent a lot of time on a shelf, so the thermometer is probably less sensitive to other temperature ranges to which it is going to be exposed.
- When you suspect the temperature indicated is not accurate. Quite obvious, but if the thermometer starts to indicate things you are not believing, then it is a good time to check it’s accuracy. A common example of this is that your AC in the room is set to 21°C, but the bimetal thermometer indicates something like 24°C. This would be a clear sign that the thermometer needs to be calibrated.
Alright, so now how to fix it!
The reasons are simple, so the cure is just as simple. There is an easy way to calibrate bimetal thermometers, as they have a nut on the back of the dial that can be adjusted manually. To calibrate, you first set up a glass or bucket (depending on the size of the insert) and fill it all the way with ice. You then add cold water to fill it up entirely and let it sit for a couple of minutes. After a few minutes have passed, you can insert the thermometer. Make sure the stem of the thermometer is as much submerged as possible, or the surrounding air will influence your reading. When the indicator settles down, check that it should indicate 0°C. If it does not, adjust the nut (while the thermometer is still in there) so that the thermometer indicates 0°C. Now you are done. The thermometer should now be as accurate as you can make it without using calibrated equipment.
If there are strict requirements for your thermometer, you may consider more precise temperature calibration. You can read more on temperature calibration in our other article about the 4 main steps to calibrate temperature instruments.
So you calibrated your thermometer, but the response time is now lacking! How to fix this? Go and check out WIKA’s blog about the response time differences between gas-actuated and bimetal thermometers and check whether you may want to upgrade to a gas-actuated thermometer.
Related
More of the same