Calibrate you pressure gauge in 4 steps
Calibration of a pressure gauge is critical in guaranteeing the safety and quality of your working staff around a pressure gauge, as for the medium that flows by the pressure gauge. The calibration of a pressure gauge may sound like a small necessity. However, its relevance can have a significant impact on both safety and audits. In this blog, we explain why you should calibrate your gauge, what calibration exactly means, and the regulations of pressure gauge calibration and show you how to calibrate your pressure gauge in 4 steps.
What is calibration
First things first, what does calibration mean? Calibration is required to compare a reference with a known error margin against an instrument (for example, a pressure gauge) under test. If the instruments (the pressure gauge) do not match the reference, we adjust it to reach the desired measuring accuracy or, at best, come close.
The reference measurement instrument must be more accurate than the pressure gauge to be calibrated, and it must also be traceable. To calibrate a pressure gauge, we must check the values throughout the entire measuring range, zero-point, intermediate values, and full-scale value. To ensure reliable and traceable reference, a digital pressure gauge is required. Digital pressure gauges are more reliable and have an average accuracy of 0.1% or 0.05%.
Why calibrate your pressure gauge
Pressure gauges are becoming even more robust and accurate nowadays, but they lose their accuracy over time. A pressure gauge will start to drift. Drift means that the instruments slowly become less accurate than it has initially been approved upon. Of course, like most items, the better the quality, the longer it will last. Meaning that WIKA pressure gauges will likely be more accurate coming out the box than their alternative counterparts.
Nevertheless, it means gauges must be calibrated regularly if needed to continue providing accurate readings. Pressure gauge calibration is often recommended before installation, as part of a preventative maintenance initiative, during shutdowns, and annual ISO audits. For more info about pressure gauges read our blog: what is a pressure gauge.
Two types of pressure gauge calibration can be performed. There is the option of a factory or local service partner calibration where your gauge will be completely re-linearized according to official regulations, including a traceable calibration certificate. Or an onsite pressure gauge calibration can be performed by hand on a vessel or plant, i.e., the last option is recommended for quickly getting your gauge back in its specs range or fixing minor drift.
When to calibrate your pressure gauge
Your pressure gauge should be calibrated by the manufacturer or official service partner at least once a year. This is mandatory for ISO audits and IMO regulations. To quote IMO article 13.1.4, “Instruments should be tested to ensure reliability in the working conditions and recalibrated at regular intervals. Test procedures for instruments and the intervals between recalibration should be approved by the Administration.” We recommend interpreting these intervals at least once a year. Onsite calibration can be performed whenever one sees fit.
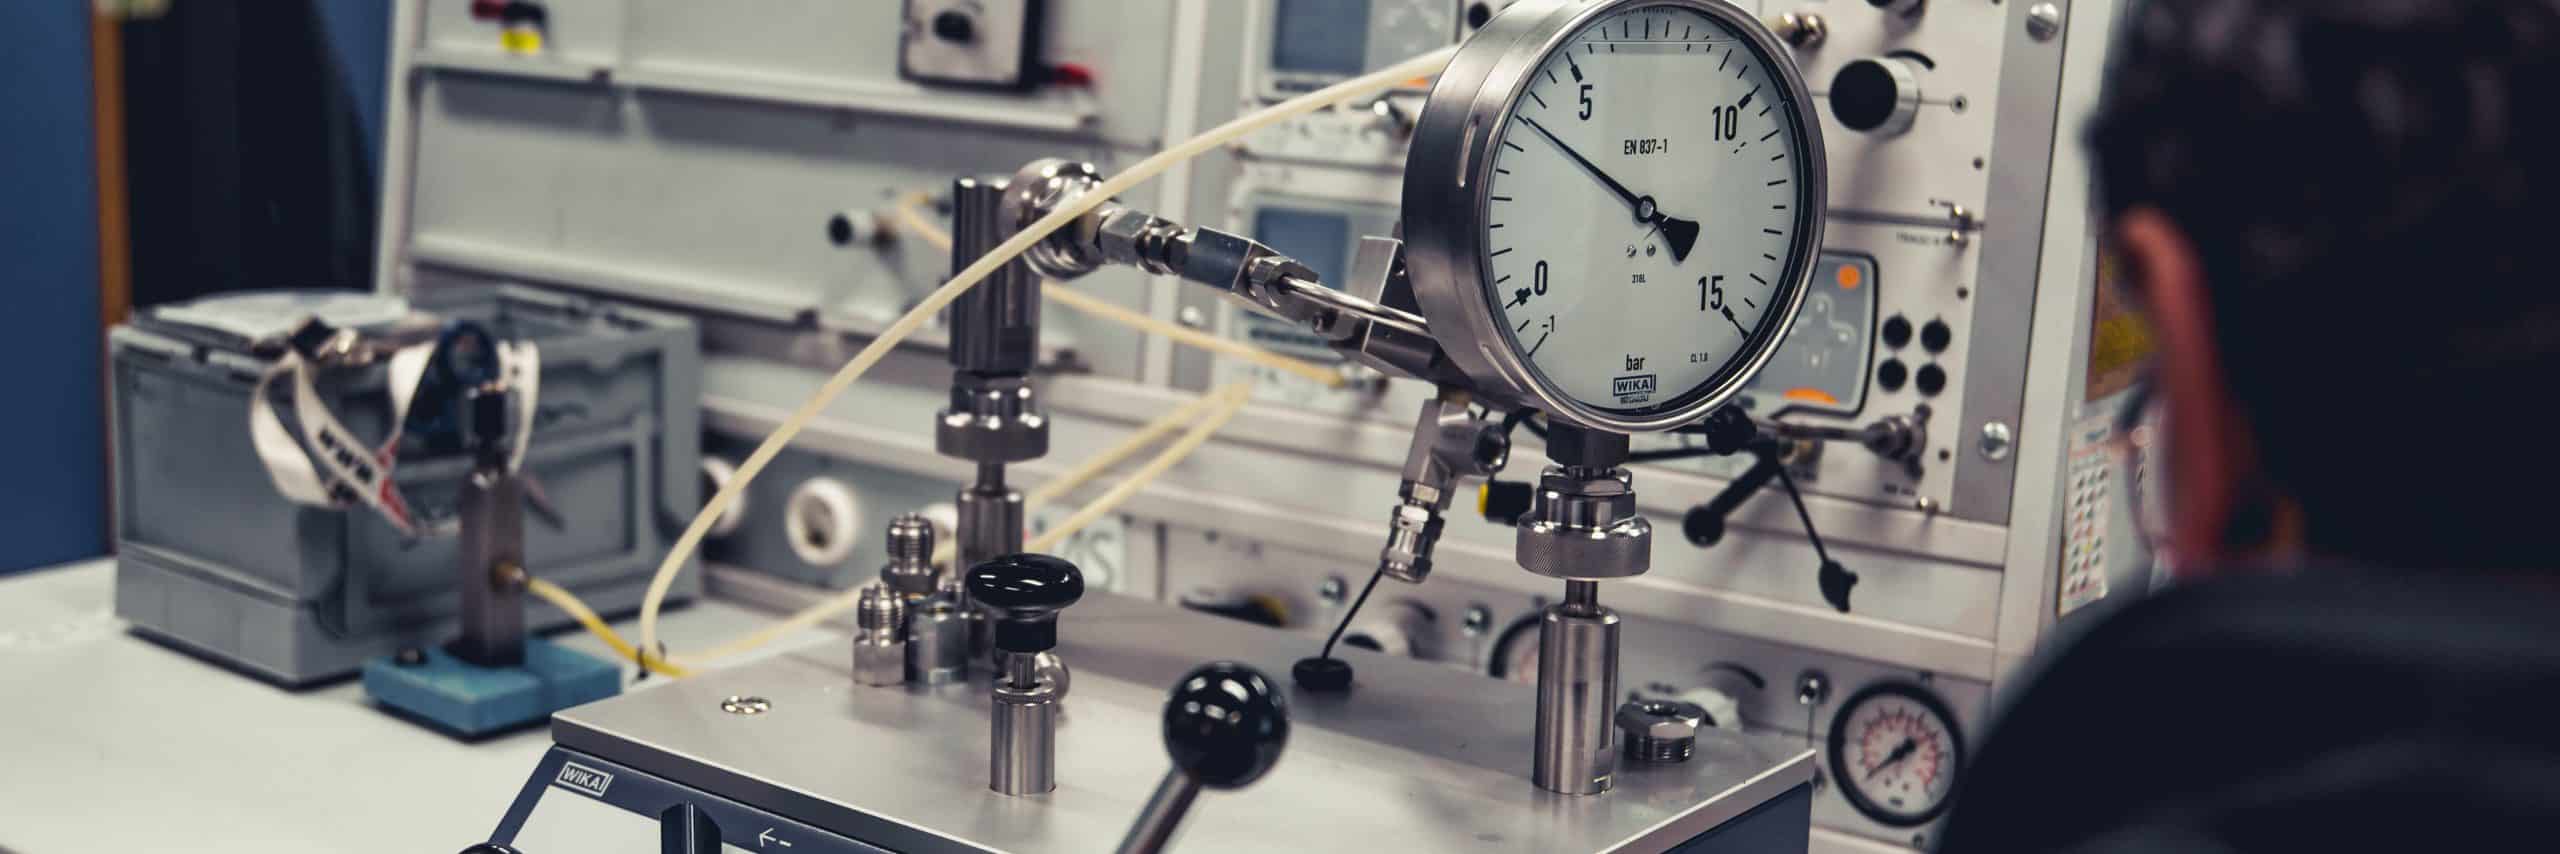
How to calibrate your pressure gauge
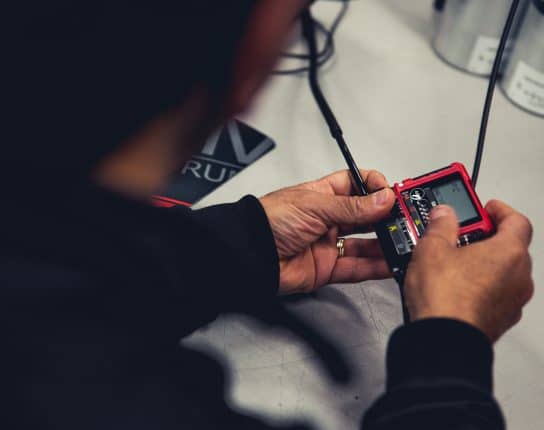
- First, the needed equipment. In the following steps, we walk you through how to perform an onsite pressure gauge calibration which you can do for yourself. You need a pressure hand pump (available in different ranges), a digital pressure gauge to figure as reference, adaptors to change the threading, and of course, your to be tested pressure gauge.
- You’ll take the pressure pump, which is manually operated by using the leavers, fix the digital pressure gauge at the top of the pump, and connect the calibrated pressure gauge to the adaptor and the end of the pressure pump.
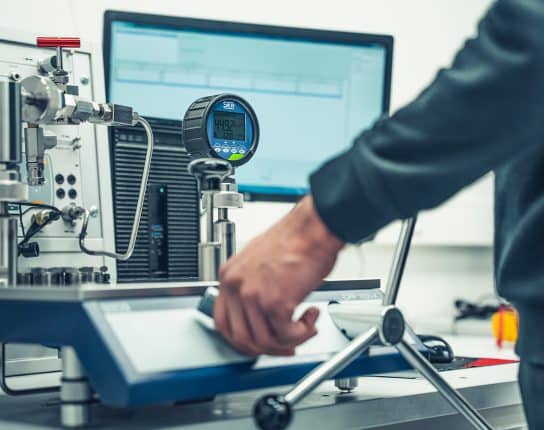
- When everything is connected, you close to the air escape valve on the pressure pump by turning it to the right. By doing this, no air can be escaped from the pump, and pressure can be sent to the gauge. Then turn on the digital pressure gauge and start slowly with adding pressure. If your pressure gauge is functioning correctly, you are now able to visually see the same amount of bar (or psi) shown on both the digital as an analogue pressure gauge.
- Repeat these steps at least four times at four different set points on the tested pressure gauge. For example, if you have a pressure gauge that needs to be calibrated with a scale of 0 to 100 bar, you should test and compare the pressure at 20, 40, 60, and 80 bar. If the accuracy of the calibrated pressure gauge is less than initially guaranteed by the manufacturer, you should consider a certified pressure gauge calibration or direct replacement.
If the pressure gauge fails the calibration, it needs to be replaced. For more information read our blog on buying a pressure gauge in 7 steps.
Related
More of the same